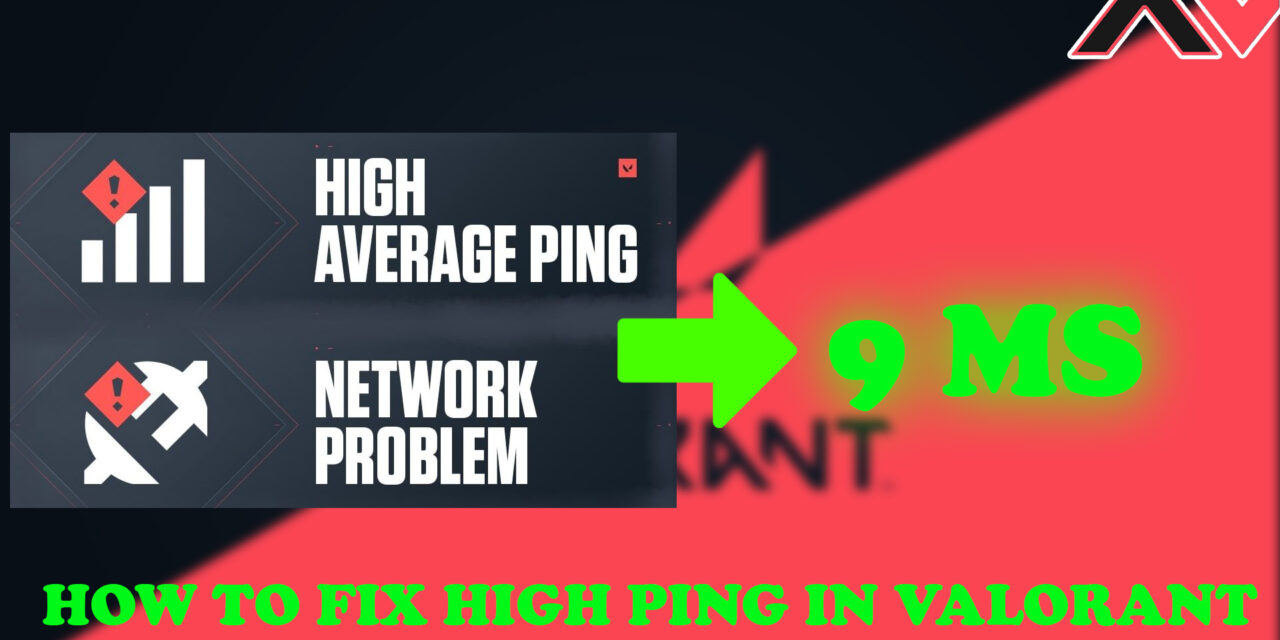
If you’ve been struggling with high ping, packet loss, or sudden auto-teleportation issues in Valorant, this guide will help you optimize your settings for the lowest possible latency. Using a combination of game settings, Windows optimizations, DNS adjustments, and network tweaks, you can significantly improve your connection stability and get a smoother, lag-free experience.
Step 1: Optimize Valorant’s In-Game Network Settings
1ģ Open Valorant and go to Settings > General
2ģ Scroll down to the Network section
3ƒ£ Find “Network Buffering” and set it to:
- Moderate (Recommended for balanced play)
- Maximum (If you have extremely unstable internet)
4ģ Apply changes and restart Valorant
Why? This setting optimizes how the game processes network data, reducing packet loss and input lag.
Step 2: Adjust Windows Firewall Settings for Better Network Performance
1ƒ£ Search for “Allow an App Through Windows Firewall”
2ƒ£ Click “Change Settings” > “Allow Another App”
3ģ Browse to the Riot Client folder and add Valorant.exe
4ƒ£ Make sure both “Private” and “Public” boxes are checked
5ģ Click OK and exit
Why? Windows Firewall can sometimes restrict Valorant’s connection, causing lag spikes and network instability.
Step 3: Disable Automatic Windows Updates While Gaming
1ģ Manually check for updates first:
- Press Win + I > Windows Update > Check for Updates
2ƒ£ Disable background updates: - Press Win + R, type “services.msc”, and press Enter
- Scroll down to “Windows Update” > Right-click > Properties
- Set “Startup Type” to Disabled and click “Stop”
- Click “Apply” and exit
Why? Windows updates can consume bandwidth in the background, causing random ping spikes during gameplay.
Step 4: Find the Best DNS Server for Your Connection
1ƒ£ Press Win + R, type “cmd”, and press Enter
2ģ Type: ping 1.1.1.1 and hit Enter
3ģ Type: ping 8.8.8.8 and hit Enter
4ģ Compare the results use the one with the lowest ms value
Setting Your DNS Manually:
1ģ Right-click your network icon > Network & Internet Settings
2ƒ£ Go to “Advanced Network Settings” > “More Adapter Options”
3ģ Select your active internet connection
4ƒ£ Click “Properties” > Select “Internet Protocol Version 4 (TCP/IPv4)”
5ƒ£ Check “Use the following DNS server addresses” and enter:
- Best Option:
1.1.1.1(Primary) &1.0.0.1(Secondary) - Alternative:
8.8.8.8(Primary) &8.8.4.4(Secondary)
6ģ Click OK and exit
Why? The default DNS assigned by your ISP is often slow. Cloudflare (1.1.1.1) and Google (8.8.8.8) offer faster, more stable DNS services.
Step 5: Optimize Your Network Adapter Settings
1ģ Press Win + X > Device Manager
2ƒ£ Expand “Network Adapters” and right-click your active network adapter
3ƒ£ Click “Properties” > “Advanced” tab
4ģ Disable the following:
- Advanced Triple E
- Power Efficient Ethernet
- Green Ethernet
- Power Saving Mode
5ƒ£ Go to the “Power Management” tab and uncheck “Allow the computer to turn off this device”
Why? This prevents Windows from limiting network performance to save power, ensuring a more stable and responsive connection.
Step 6: Use TCP Optimizer to Fine-Tune Your Connection
1ƒ£ Download TCP Optimizer (Link in FierceRex’s video description)
2ģ Run it as Administrator
3ƒ£ Select “Custom” settings and apply the following tweaks:
| Setting | Value |
|---|---|
| Network Adapter Selection | Your active adapter |
| TCP Window Auto-Tuning | Normal |
| Congestion Control Provider | CTCP |
| RSS | Enabled |
| RSC | Enabled |
| TCP Timestamp | Disabled |
| System Responsiveness | Set to Gaming (0) |
| Max User Port | 65534 |
| Network Throttling | Disabled |
4ƒ£ Click “Apply Changes” and restart your PC
Why? TCP Optimizer ensures that Windows prioritizes gaming traffic, reducing latency and packet loss.
Step 7: Lower Ping With GearUp Booster
1ģ Download and install GearUp Booster
2ģ Launch the program and log in
3ƒ£ Select Valorant and click “Boost”
4ģ Choose the best server (or let it auto-select the lowest ping server)
5ģ Launch Valorant through GearUp Booster
Why? This tool optimizes network routing to connect you to faster, less congested game servers, reducing ping and lag spikes.
Step 8: Additional Tips for Stable Ping
” Use a wired connection Avoid Wi-Fi when playing Valorant.
” Close background apps Close Discord, Chrome, and other high-bandwidth apps.
” Set Valorant to High Priority Open Task Manager, right-click Valorant, and set priority to High.
” Restart your router daily This helps refresh your connection.
Final Thoughts Get the Lowest Ping Possible
By following these optimizations, players have reported ping reductions of 10-50ms, depending on their ISP and network quality. These tweaks will help you fix auto-teleportation issues, reduce lag, and improve overall gameplay stability.
For more network optimization guides, visit AllValorant.gg.
Sources:
- FierceRex Advanced network optimization guide for Valorant.
Frequently Asked Questions
How do I lower my ping in Valorant?
Lower your ping by using a wired connection, changing DNS settings, disabling background apps, and using a game booster like GearUp Booster.
What is the best DNS server for gaming?
Cloudflare’s 1.1.1.1 and Google’s 8.8.8.8 are the best DNS servers for faster and more stable gaming connections.
Does disabling Windows updates help reduce lag?
Yes, disabling background Windows updates prevents them from using bandwidth during gameplay, reducing ping spikes.
How does TCP Optimizer improve ping?
TCP Optimizer adjusts Windows network settings to prioritize gaming traffic, reducing latency and packet loss.
Is it safe to use network tweaks for better ping?
Yes, but only apply trusted tweaks from sources like FierceRex to avoid potential system issues.