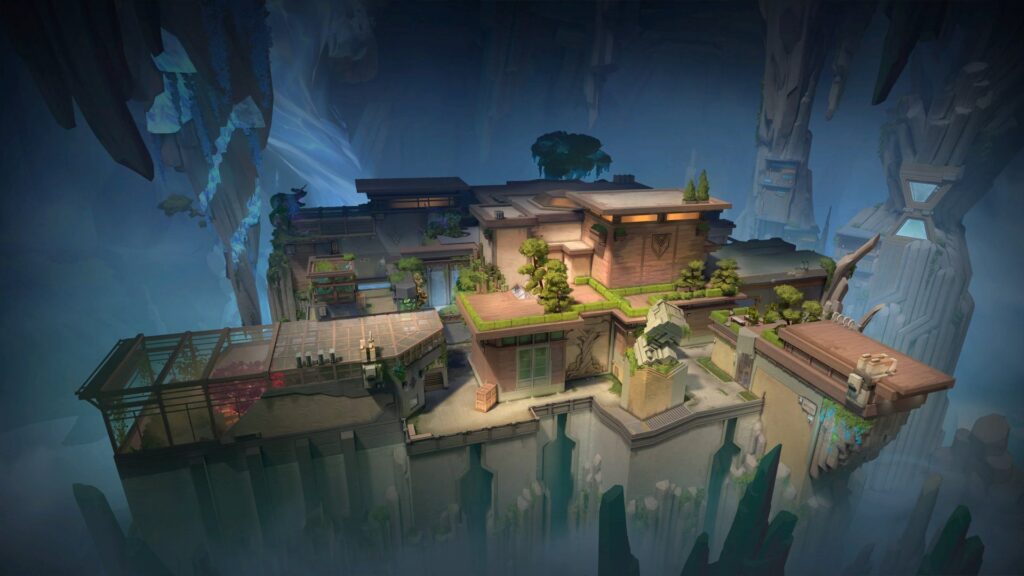
Abyss, the newest map in Valorant, has left many players puzzled with its unique layout and challenging gameplay. To help you dominate, we’ve compiled a complete guide to mastering Abyss, from defensive strategies to effective attack techniques. Here’s everything you need to know to climb your ranks, win more games, and stop dodging this map.
Defense Tips on Abyss
B-Site Defense
B-Site on Abyss is notoriously hard to defend, especially for solo players. There’s only one solid defensive position—underneath the bridge—but it’s easily compromised if enemies flood the area with utility. Here are some tips to hold B-Site more effectively:
- Midside Smokes: Placing a smoke in midside can help you control the flow of attackers and give you an opportunity to play off-site.
- Retake Oriented Play: Abyss is heavily focused on retakes, and B-Site is no different. Maintaining control of key areas like Heaven and Aqua is critical. Losing these areas forces you to use extra utility to retake, which can be costly.
- Long Range Info Angles: Hold safe, long-range angles that allow you to gather information without committing to fights. This is key, as Abyss is a large map, making it hard for teammates to rotate quickly.
A-Site Defense
A-Site offers slightly more flexibility for defenders, especially in the back of the site:
- Backsite Options: Unlike B-Site, you can retreat from A-Site if you get overwhelmed by utility. However, committing to the front of the site means you’re all-in on the fight.
- Contest A Main: A-Main is easier to contest compared to B-Site, as enemies can only push from one area. Utilize this by taking aggressive lines and holding powerful angles.
- Retake Tips: Much like B-Site, maintaining control of CT and Heaven is crucial. Losing these areas makes it harder to retake the site and conserve your utility for defuse scenarios.
Attack Strategies on Abyss
B-Site Attack
Taking control of B-Site is relatively simple, but requires precise coordination:
- Crowd Control and Flashes: When your team uses flashes or other crowd control, make sure someone is jiggle-peeking or hard-peeking to clear dangerous lanes. If defenders retreat, punish them by pushing aggressively.
- Postplant: B-Site postplants are difficult for defenders, making it easier for attackers to spam the bomb and deny defuses. Consider leaving one player behind to stall and gather information, while the rest play off-site for postplant utility.
A-Site Attack
A-Site is also attack-friendly, but with more tactical depth:
- Aggressive Lines: Use aggressive positioning to take advantage of A-Site’s longer sightlines. Operators can be highly effective here if you hold key lanes.
- Postplant Utility: Similar to B-Site, play for postplant utility. Deny defuses by spamming the spike and controlling critical areas like Heaven and CT.
Mid Control: The Key to Success
Mid control is essential for both defense and attack on Abyss. Here’s why it’s so important:
- For Attackers: Forcing defenders to respect mid prevents them from rotating freely. From mid, attackers can take positions like Vent, which gives them critical information and cuts off rotations.
- For Defenders: Pushing mid can be risky without proper information. Only push mid aggressively if you have utility like a KO Knife to gather info on enemy locations.
Best Agent Compositions for Abyss
The only two agents that are considered must-picks for Abyss are Jett and Sova:
- Jett: Jett is incredibly strong on Abyss due to her ability to take space quickly and her dominance with the Operator.
- Sova: Sova provides critical information on both defense and offense, with recon darts that can flush out enemies or reveal their positions.
While Jett and Sova are staples, other agents can also be viable depending on your strategy. You’ll often see teams experimenting with agents like Astra, Omen, Viper, and Cypher to control the map in unique ways.


