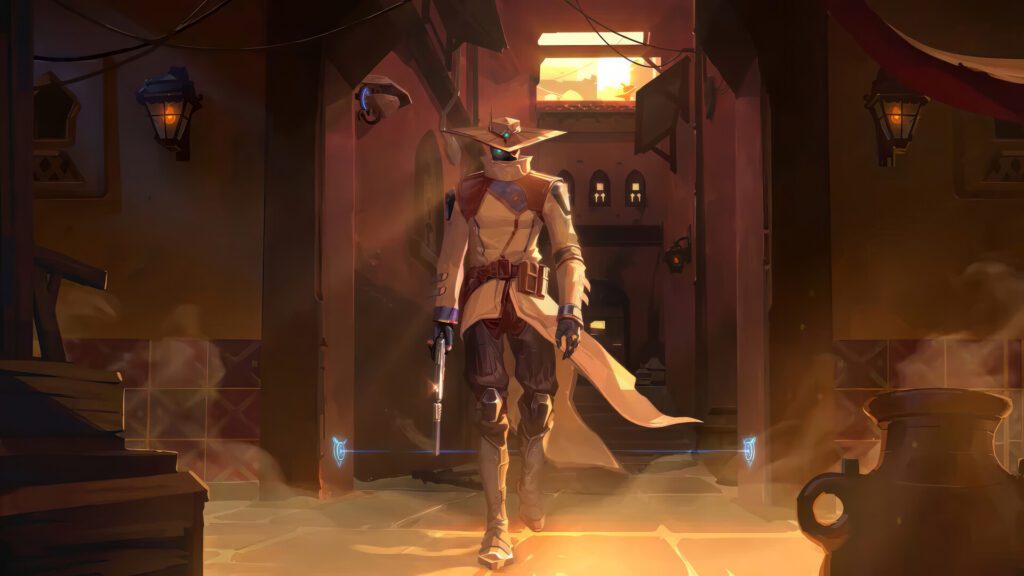
In the words of Cypher, Valorant’s master of surveillance, “Nothing stays hidden. I can see it.” True to his statement, Cypher’s tools turn any map into a high-security facility, making it a nightmare for opponents to push through without being detected. His utility—ranging from sneaky tripwires to one-way cages and unexpected camera placements—can completely lock down sites, especially on Haven. In this guide, we’ll explore the best setups and strategies to transform Haven into your personal playground of traps and surveillance, giving you a significant edge over your enemies.
Defensive Setups: Locking Down A Site
When defending A site on Haven, Cypher’s utility can create impenetrable defenses that force enemies to rethink their approach. Start with a one-way cage setup near A Heaven. To execute this, hug the wall on the right side of A site and aim your crosshair toward the top part of the window. Throw one or two cages depending on your playstyle. This setup allows you to spam targets with minimal risk as they push onto the site.
Next, jump onto the middle green box from Heaven and place your camera towards the ventilation machine on the wall. This camera position offers a wide view, covering both A main and sewers entry points, making it difficult for lurkers to slip by unnoticed.
To complete the setup, place a tripwire near graffiti to stop anyone from pushing beyond that point. The second tripwire should be placed to cover spike plants. With this setup, you can play from Heaven, using your cages to spam enemies as they trip your wires or get tagged by your camera.
Mixing Up Your Defense: Alternative A Site Setup
For a variation, place your camera in the vine patch on the roof near Heaven. This sneaky placement is harder to spot and provides excellent vision across A site. Set one tripwire at the A main entrance and another low in sewers. These wires are hard to detect without exposing the enemy to open angles, making them highly effective.
Use one of your cages to create a one-way near A main for early denial of space. This setup is particularly powerful when combined with a teammate’s flash or tagging ability, allowing you to spam enemies as they push. The second cage can be placed on the left side of the site, enabling you to retreat safely if necessary.
Securing B Site: Effective Cypher Setups
While B site can be challenging to hold, Cypher can still create valuable setups. Place your camera at the entrance to B site to mess with the enemy’s crosshair placement. For tripwires, use the wooden shelf to hide one, and place another at the bottom of the wall to prevent spike plants. Deploy a cage at the entrance to spam tagged enemies and another behind your tripwire for safe spamming from A link.
If the enemy has already read your trap placements, mix it up by setting your camera in the corner of the site, which provides sneaky but valuable coverage. Use tripwires on either side of the wooden planks to limit enemy movement, and place cages on each side of B site, allowing your team to hold from both A and C link.
Dominating C Site: Cypher’s Traps and Tricks
C site’s vast space may seem daunting, but it offers numerous spots for Cypher’s utility. Start with an overpowered camera placement by jumping near the green box and aiming toward the building. This camera covers crucial entry points and provides early information.
Place a straightforward tripwire at the main entry to C site and another near the green box to prevent pushes towards back site. Use a one-way cage at the horn to cover the entrance and another at the platform to give you a safe angle to spam enemies.
For an alternative setup, place your camera on the electric post near the green box for coverage of C long. Use a tripwire at the platform and another near logs to catch enemies pushing towards the site. Deploy cages behind these tripwires to spam and delay the enemy’s advance.
Global Presence: Cypher’s Semi-Global Setup
Cypher’s utility isn’t limited by distance, allowing you to cover multiple areas of the map from a single position. For a setup that covers both Garage and C site, place your camera at the entrance of Garage and a tripwire behind the wooden box. Use a one-way cage at Garage’s entrance for easy picks.
To extend your influence across the map, place a camera on C site and tripwires at Garage and B main. This setup provides information on enemy movements across three sites, allowing your team to react quickly and effectively.
Attacking with Cypher: Anti-Flank and Post-Plant Strategies
Cypher is not just a defensive powerhouse; he also excels on the attack. To protect your team from flanks, set tripwires at key locations like A Lobby and C entrance. These tripwires provide early warning and can deter flankers from pushing.
For post-plant scenarios, Cypher’s cages can create one-way setups that allow you to control the site from a distance. On A site, plant the spike near the rightmost wall and place a cage on the roof. Once the enemy taps the spike, pop the cage and pick off the defuser. Similar setups can be used on C site for effective post-plant control.
Cypher’s strength lies in his versatility and ability to adapt to the enemy’s playstyle. By mixing up your setups and staying unpredictable, you can keep your opponents guessing and secure round wins for your team. Whether defending or attacking, Cypher’s utility provides invaluable information and control, making him a crucial asset in any Valorant match.
4o


